Inside the Blog
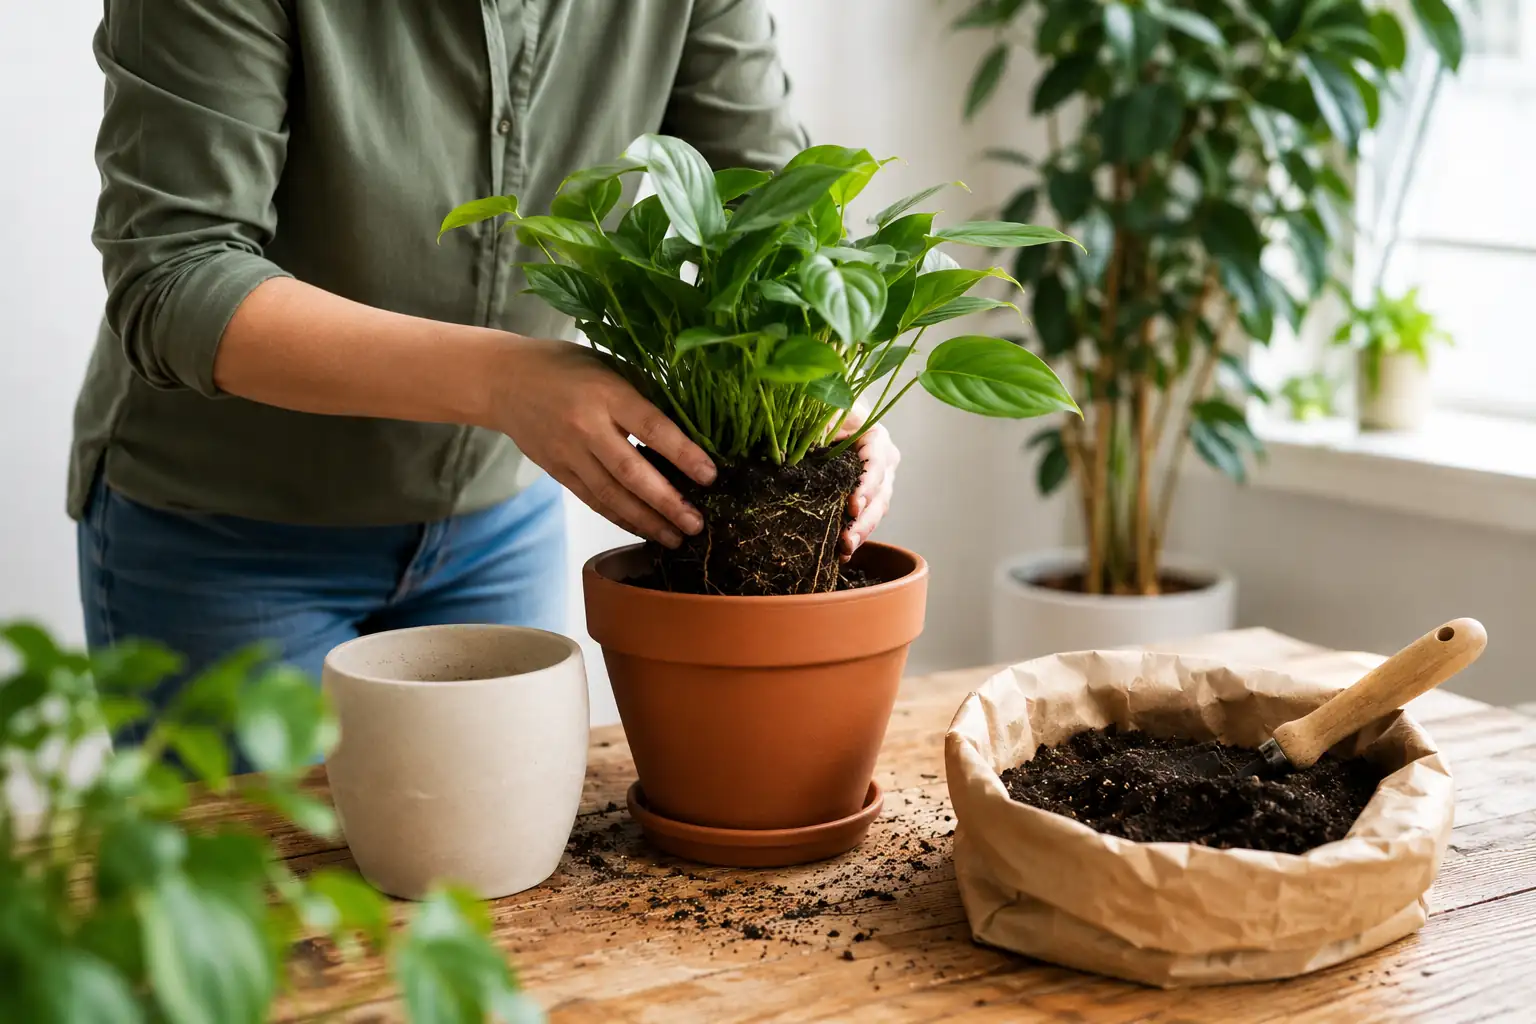
Repotting helps your houseplants continue growing by giving their roots fresh soil and a little extra space. While the process is simple, choosing the right pot size, timing the move correctly, and handling the roots carefully can make the difference between a smooth recovery and unnecessary transplant shock.
When to Repot: Signs the Plant Is Ready
Plants do not need to be shifted into new containers on a rigid calendar schedule. Instead, they drop distinct physical hints when their current home has run out of space.
- Roots are visibly growing out of the drainage holes: This is the most obvious sign that the root system has filled the interior and is searching downward for fresh real estate.
- Roots are circling densely around the inside of the pot: When you gently slide the plant out, the roots form a tightly bound, solid mesh sleeve with little visible soil left.
- The plant dries out far faster than it used to: If a pot that used to stay damp for a week now bone-dries within a day or two of a deep watering, the root-to-soil ratio is off.
- Growth has stalled completely: If your specimen stops pushing out new leaves during the spring or summer despite receiving ideal light, watering, and regular nutrition, it likely lacks the root space to expand.
- The pot has cracked or become top-heavy: Fast-growing root systems can warp or crack plastic grower pots, while large dense foliage can make light pots tip over at the slightest breeze.
One specific detail that does not necessarily mean a plant needs an immediate upgrade is a few rogue roots poking out of the bottom. Some species, like the black coral snake plant, actually prefer tight, restricted spaces and will bloom or push out cleaner structure when kept mildly rootbound.
If you’re unsure whether it’s time to repot, gently slide the plant out of its pot. Healthy roots should still have visible soil between them. If the roots completely wrap around the root ball with very little soil remaining, it’s time to move the plant into a slightly larger container.
When NOT to Repot
Timing your plant move is just as important as the actual shifting technique. Forcing a root transition during a period of low energy can cause severe transplant shock.
- In the dead of winter: Most houseplants enter a slow, semi-dormant metabolic phase when daylight hours shrink. Because root growth slows to a crawl, the plant cannot heal micro-tears or colonize new soil quickly.
- Immediately after bringing a plant home: Shifting a plant from a climate-controlled greenhouse to a retail shop, and then into your home, involves massive environmental changes. Adding immediate root trauma to that stress can prove fatal. Allow the plant to acclimate to your room’s ambient humidity and light for at least two to three weeks first.
- During an active pest or disease infestation: A plant fighting off insects or fungal issues is already running on low energy reserves. Disturbing its roots at this point breaks its natural defense mechanisms.
- When the plant is actively flowering: The biological energy required to maintain beautiful blossoms is immense. Repotting a plant mid-bloom forces it to abruptly shift its energy toward survival, resulting in rapid bud drop and wilting flowers.
The absolute best window for this task is late winter through early summer. During this time, the natural increase in light triggers a surge in growth hormones, allowing roots to establish aggressively in their fresh substrate.
Choosing the Right Pot Size
Stepping up into an excessively large pot is the single most common pitfall in houseplant care. While it feels logical to give the roots vast amounts of room to stretch, doing so creates a hazardous chemical environment in the soil.
A small root ball sitting inside a massive container cannot absorb all the moisture held within that large volume of wet earth. As a result, the uncolonized soil surrounding the roots stays wet for weeks on end. This cuts off oxygen flow to the root cells, creating an anaerobic environment that rots the core root system.
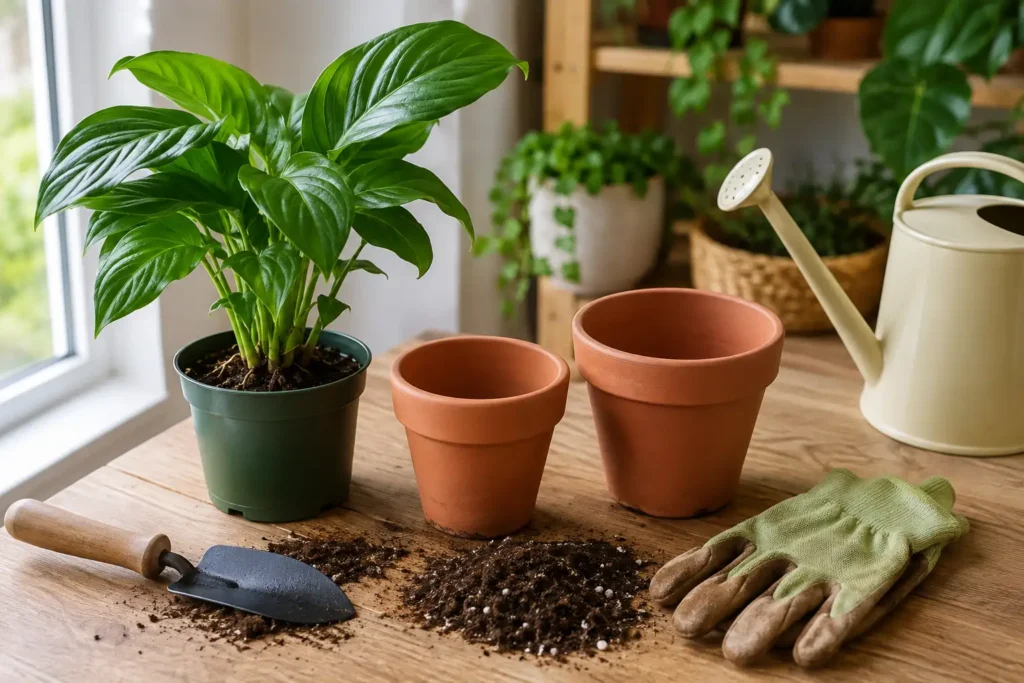
The ideal upgrade is to choose a pot that is only one to two inches larger in diameter than the current container. For instance, a small plant in a 4-inch container should step up to a 6-inch pot, while a massive floor specimen in a 10-inch pot moves into a 12-inch version. Always ensure your chosen pot features open, functional drainage holes. If you want to use a decorative ceramic or terracotta container that lacks holes, treat it strictly as a decorative outer cachepot, keeping the plant housed inside a plastic utility liner with full drainage.
What You Need
- A new pot, one to two inches larger than the current one
- Fresh potting mix appropriate for your specific plant type
- A clean trowel or an old kitchen spoon for tight spaces
- A drop cloth, newspaper, or tarp to protect your floors and counters
- A watering can filled with room-temperature water
Step-by-Step Process
Step 1: Water the Plant the Day Before
Moist soil has a cohesive quality, allowing it to cling together as a protective cushion around the delicate roots during removal. If you attempt to repot a bone-dry plant, the soil will crumble away in heavy chunks, tearing the fine, hair-like feeder roots along with it.
Step 2: Prepare the New Pot
Pour a base layer of fresh potting mix into the bottom of the new container. You want to gauge the height so that when the old root ball sits on top of this layer, the rim of the original soil aligns about an inch below the rim of the new pot. This leaves proper clearance so water doesn’t spill over the edges later.
Step 3: Slide the Plant out Safely
Never yank a plant upward by its main stem or foliage, as this can sever the crown right from the root core. Instead, lay the pot on its side, support the main stem gently with one hand, and squeeze or tap the sides of the container to loosen the seal. Slide the root ball out smoothly. If it feels firmly stuck, slide a dull butter knife carefully around the inside perimeter of the pot walls to release the roots.
Step 4: Loosen the Roots Gently
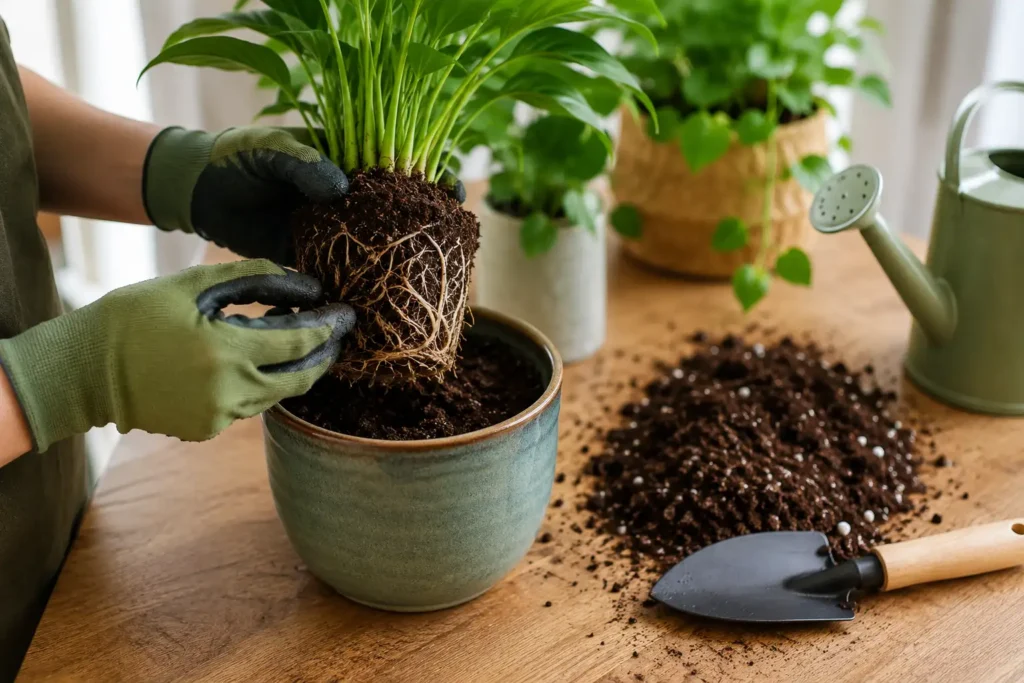
If your plant has become highly rootbound, the roots will be locked in a tight, circular pattern matching the old pot shape. Use your fingers to gently massage and tease apart the outer root edges. You do not need to aggressively shake or strip away all the old soil, just loosen the outer network enough so they can easily bridge the gap into the fresh potting mix.
Step 5: Check for Root Rot
Take a close look at the exposed root system. Healthy roots are typically firm, crisp, and white or tan. If you notice any black, mushy, or foul-smelling sections, use sterilized scissors to clip them away cleanly. For serious cases where the rot has spread through major sections, following the techniques for drying plant roots and treating damaged root systems will help save the plant before it goes into fresh soil.
Step 6: Place and Fill the Void
Center the loosened root ball inside the new container. Fill the empty space around the sides with fresh potting mix. Use your fingers or a spoon to gently press the mix down to eliminate major structural air pockets, but avoid packing the soil down with heavy force, as this destroys the microscopic channels required for drainage and airflow.
Step 7: Water and Settle
Give the newly housed plant a deep, thorough watering until you see it running freely out of the bottom drainage holes. This initial saturation functions as a mechanical settling tool, melting the old and new soil structures together and locking the roots into their fresh environment. Allow the pot to drain fully before returning it to its usual display spot.
Soil Types for Common Plants
Matching the physical properties of your potting mix to the needs of each plant is just as important as choosing the right container. Different houseplants have evolved in very different environments, so using the correct soil helps improve drainage, root health, and long-term growth.
Tropical Aroids (Monstera, Pothos, Philodendrons): These plants prefer a loose, chunky potting mix that drains well while still holding some moisture. Mixing standard indoor potting soil with perlite and orchid bark creates an airy root environment that supports healthy growth.
Succulents and Desert Cacti: Succulents require a fast-draining growing medium. Use a cactus or succulent potting mix, or amend regular potting soil with coarse sand, pumice, or extra perlite to prevent excess moisture around the roots.
Orchids: Most orchids naturally grow attached to trees rather than in soil. They perform best in a coarse orchid bark mix with sphagnum moss, allowing their roots to receive plenty of airflow between waterings.
Prayer Plants, Ferns, and Other Tropical Foliage Plants: These plants appreciate a moisture-retentive yet well-aerated mix containing potting soil, coco coir, and perlite. The goal is to keep the soil evenly moist without becoming waterlogged.
Many of these plants are also featured in our evergreen indoor plants collection, where you’ll find additional low-maintenance foliage plants that respond well to proper potting soil and occasional repotting as they mature.
Aftercare
Once the repotting process is complete, your plant enters a crucial recovery window lasting two to four weeks. During this time, place the container in a highly stable spot with consistent, indirect light and mild temperatures, and hold off on all fertilizer applications entirely. Fresh root tips are highly sensitive to chemical burning, and forcing them to process heavy synthetic nutrients before they have acclimated to the new pot can cause severe leaf scorch.
Keep in mind that certain delicate or highly responsive species will show minor signs of stress—like temporary drooping or shedding a few lower leaves—regardless of how careful you were. Fiddle leaf figs are notoriously sensitive to root disturbance, and this brief transitional phase is completely normal. Simply maintain a steady environment, check the soil moisture carefully, and the root system will typically anchor itself and push out vibrant new growth within three weeks.
Quick FAQ
Should I add fertiliser to the new potting mix when repotting?
No. Most high-quality commercial potting soils are pre-mixed with a light charge of slow-release fertilizer. Adding extra synthetic food on top of that can overload the system and burn the newly disturbed root tips. Give the plant at least four to six weeks to grow comfortable in its new container before introducing a regular liquid fertilizing routine.
Can I repot a plant that is currently flowering?
It is highly recommended to wait until the current bloom cycle concludes naturally. Shifting a plant while it is actively pushing out flowers triggers a sudden survival response, causing it to drop its buds and blossoms overnight to conserve water and redirect energy toward root repairs.
My plant looks worse after repotting. Did I do something wrong?
Not necessarily. Slight wilting, mild drooping, and the loss of one or two older leaves are standard symptoms of temporary transplant shock. As long as your pot has open drainage holes and you aren’t drowning the soil, keep the environment stable and give the plant two weeks to adjust. Continually overwatering a shocked plant out of anxiety is the absolute most common reason plants fail to recover from a repot.
Can I reuse old potting soil when repotting?
Fresh potting mix is always the better choice because it provides improved drainage, aeration, and nutrients for healthy root growth.
Should I water immediately after repotting?
Yes. Water thoroughly after repotting to help the new soil settle around the roots and remove large air pockets.
Can I repot a newly purchased houseplant?
It’s best to wait two to three weeks so the plant can adjust to its new environment before disturbing the roots.
How do I know if my new pot is too large?
Choose a container only 1 to 2 inches wider than the current pot. Oversized pots hold excess moisture that can increase the risk of root rot.
How long does transplant shock last?
Most healthy houseplants recover within two to four weeks when kept in stable conditions with bright, indirect light and proper watering.